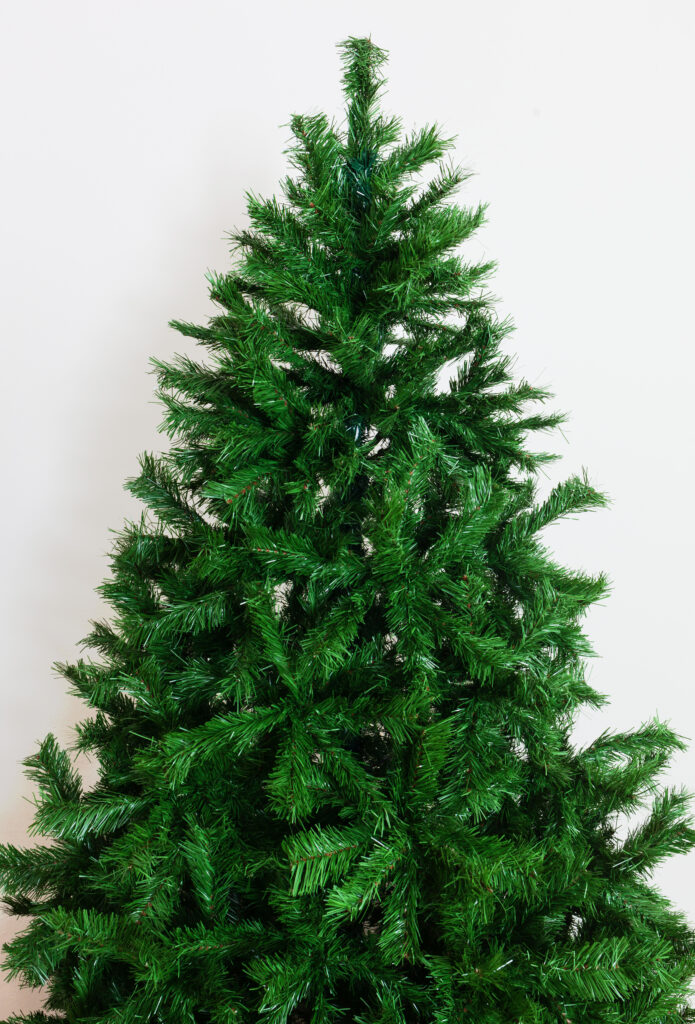
Chances are if you own an artificial Christmas tree you will likely need to clean it at one point or another. How many of you were today year’s old when you discovered this and now that’s why you are here? Come on, be honest. (I was right there with you a few years ago!)
Cleaning not only makes the tree look better, but can help it to last longer and save you money in the long run. Before getting started make sure to check your original tree packaging for any cleaning instructions. This is especially important if your tree has a warranty. Certain methods of cleaning may void the warranty.
Here are the easiest methods for cleaning your artificial tree sorted by tree type. Happy cleaning!
Pre-lit
Pre-lit artificial trees are the most popular of any artificial tree on the market. They come in a variety of colors, widths and heights. They are very easy to set-up and also even easier to clean. Here are step-by-step instructions for the easiest ways to clean your pre-lit tree of any color.
- Identify a location where you can lay all the pieces out flat at once or at least one at a time. (Pro-tip lay out a large sheet of plastic or plan to vacuum or mop the location after cleaning is finished).
- Start with the largest section first.
- Grab your vacuum with a bristle brush attachment or a handheld model. Gently vacuum the trunk and branches. Work from the inside out. Keep the vacuum close enough to pick up the dirt, but not so close that you are losing lots of needles. Losing some during cleaning is normal and nothing to worry about.
- Take a look at each section. If they are clean enough, assemble and fluff your tree. If there is still some dust or grime remaining consider the following options.
Damp Cloth Method
- Get a large bowl or bucket of water and add 1-2 teaspoons of mild dish soap.
- Dip a microfiber cloth or soft dishtowel in the water. Ring the cloth out very well.
- Gently and carefully wipe any areas that need attention. Again work from the center of the tree toward the outside branches.
- Be careful not to get any outlets, plugs or wires wet. The goal is to have a small amount of wetness only where needed and not to get the tree wet. If your cloth or branches are dripping you need to ring your cloth out again.
- Allow the tree to dry out overnight. Rotate the sections as needed. Be sure the tree is completely dry before plugging it in.
Dry Salt Method
- If your tree comes in small enough sections this could be an option. Place the sections into trash bags (consider lawn bags if you have some in the garage).
- Add two cups of salt.
- Close and seal the bag completely.
- Lay a second trash bag out flat on the floor.
- Shake the bag vigorously. The salt will act as an abrasive to remove dust or stuck on dirt.
- Gently remove the section from the bag and shake out over the second trash bag spread out on the floor.
Dryer Sheet Method
- This method is great because the dyer sheets act like a magnet trapping dirt and dust to prevent it from falling onto your floor or lower branches! Bonus-it smells great!
- Grab a box of dryer sheets.The number you need will vary depending on the width, height and dirtiness of the tree.
- Separate the tree into sections.
- Begin wiping the largest section and fluff as you go-to save time later. I like to start with the bottom section so I can add it directly to the stand and start to assemble as I finish each section. I always start at the top of each section and work down as well as inside to outside.
Unlit
Unlit trees are also popular. They provide you with a lot of flexibility in decor as you can change your lights each year from colored to festive shapes and back again. They are also the easiest to clean. Here are step-by-step instructions for the easiest methods to clean an artificial tree without lights.
Shower Method
This is just like it sounds. You will be putting your tree in the shower.
Completely assemble or work in sections, whatever works best for you.
Make sure all lights, ornaments and decorations have been removed from the tree.
Place the tree in the shower stall or tub.
Turn the water on a gentle setting or use a shower wand attachment on low. The goal is the remove dirt and dust, not wash off all of the needles. Make sure to rinse the water over the tree or pieces from the top down.
If you notice stuck on stains or dust try gently wiping with a soft dishtowel. You can add a small amount of mild dish soap if needed as well.
Let the pieces dry out on towels or leave them to dry in the stall or tub.
Make sure the pieces are completely dry before moving to your final decoration location and before adding any lights or electrical elements.
Outdoor Hose Method
This is basically the same as the shower method, but outdoors. If the weather in your area permits, this is a great option.
Take all of the pieces outdoors. Depending on the height of your tree you may want to assemble it or leave it in pieces. There is no wrong way.
Use your hose on a low setting to gently rinse the tree or pieces, from top to bottom.
If you notice stuck on stains or dust try gently wiping with a soft dishtowel. You can add a small amount of mild dish soap if needed as well.
Allow the tree to completely dry. Outdoors or in a covered area such as a garage are good options.
Make sure the pieces are completely dry before moving to your final decoration location and before adding any lights or electrical elements.
Spray Bottle Method
This method is best for trees that are only dusty and do not have stuck on stains or odors.
Fill a spray bottle with warm tap water and give the branches a light spritz. This can be done indoors in the shower or outdoors.
Keep the tree assembled or spritz each section separately.
Flocked
Flocked trees are gorgeous! They really bring the wintery vibe to any living room. However, flocked trees will attract dust and it will show more easily than other trees. The material that makes up the flocking is not a flat surface and therefore can trap and hold dust, grime, and glitter more than the flat needles on non-flocked trees. But never fear, cleaning these trees can be a cinch with a little time and patience
Dust Wipe Method
Use a dust wipe that will trap and hold dust or dirt. Gently wipe the tree branches only where needed. Slow and steady wins this race.
Do not wet the wipe as that can damage the flocking or cause it to come off the tree completely.
Do not use any cleaners on a flocked tree. Certain ingredients can discolor the flocking or cause it to detach from the branches.
When in doubt see your manufacturer’s instructions.
White
White trees have really grown in popularity over the years. They seem to be the most high maintenance to maintain, but with some patience and planning they can shine again.
- To clean a white tree that is pre-lit see the cleaning options above in the Pre-lit section.
- To clean a white tree that is unlit see the cleaning options above in the Unlit section.
- If you need to clean your white tree because it is turning yellow see the options below and consult the manufacturer’s instructions included with the original packing or visit their website.
Water and Hydrogen Peroxide
Fill a spray bottle with warm water
Water, Distilled White Vinegar and Sunshine
- Take your tree outdoors on a sunny day. Place it in direct sunlight.
- Keep the tree assembled or in parts. (I think assembled is easiest)
- Add 1 part water with 3 parts distilled white vinegar in a spray bottle. Shake to combine.
- Spritz all discolored areas.
- Leave the tree in direct sunlight for several hours.
- Check your progress.
- Repeat once more if needed. Remember to keep the spritz light and not to soak the tree.
- Allow the tree to dry completely in the sun for 8-12 hours.
- If the tree smells of vinegar you can repeat these steps using plain water to remove the smell. Allowing the tree to dry outdoors will help as well.
- Make sure the pieces are completely dry before moving to your final decoration location and before adding any lights or electrical elements.
- If your tree is still yellow and you want to keep it, you can always consider using colored lights to disguise the discoloration. Another option would be to add flocking to the branches.
Fiber Optic
Fiber Optic trees really bring the wow factor to any space. They also don’t need to be cleaned unless the fibers become cloudy and less bright (similar to a foggy light cover on your headlights). Individual fiber optic strands are extremely delicate so the branches must always be handled with care.
- Wet a soft microfiber cloth or dish towel with warm water.
- Wring out most of the water so the cloth is damp.
- Lay the tree down and wipe small sections top to bottom. Use light pressure to gently remove any dust.
- Let the tree dry before assembling or plugging into an electrical outlet.
Outdoor
Artificial trees used as part of an outdoor holiday display will likely need a bit more cleaning than their indoor counterparts. However, the techniques are the same.
- See above based on your tree type and always review the manufacturer’s instructions. Remember, if you don’t have those you can visit the manufacturer’s website for more information.
- Pro-tip clean your outdoor tree in an outdoor space or covered outdoor area if possible. You never know what you may find residing in your artificial tree. I would much rather clean bird poop or bugs off outside before they have a chance to come inside.