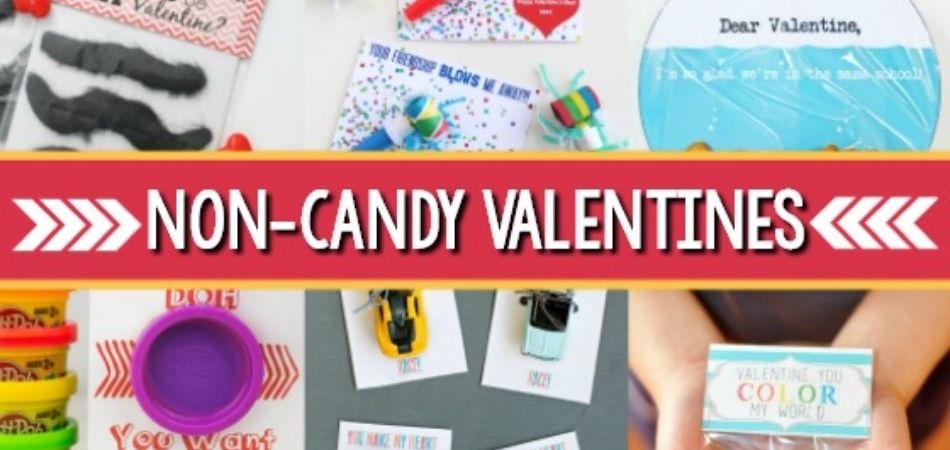
Get ready for Valentine’s Day with some sweet treats without the added sugar! This year, let’s step up our LOVE day game with convenient and fun candy-free Valentine’s.
Candy-free Valentine’s are a fun and unexpected choice to mix things up in the classroom, playgroup, or team practice. We love non-candy Valentine’s options because they are;
- Allergy-friendly– you can take a deep breath and relax, knowing your treat is safe for everyone.
- Low Maintenance– no more melty chocolates or broken suckers to worry about.
- Convenient– you can get ready for the big day in advance without worrying about your special pieces getting stale or expiring.
- Easily accessible– you can find these at your local retailer or online.
- Lots of Variety– there are many options for kids with all interests and hobbies.
We searched high and low to bring you the best options for Valentine’s favors and cards that your child will be excited to give out at their Valentine’s Day exchange this year. Some options are assembly-only-prepackaged, others are partially DIY, and the last group is 100% DIY. There is something for everyone here, regardless of artistic abilities, time available, or specific interests.
Select a prepackaged option if you’re short on time or your child doesn’t enjoy crafts. These are quick and easy to prepare. If your child likes to make things or do arts and crafts, go with a 100% DIY option. These will take longer to complete but are truly unique. No worries about having the same cards as someone else this year. If you’re in the middle, consider one of the partial DIY options.
Take a look at our top picks below and choose what works best for your family.
Assembly Only-Prepackaged Valentine Kits
Let your kids in on the fun of an assembly-only Valentine this year. These prepackaged kits come with everything they need to create a special Valentine for all their friends and classmates. Kits come with easy-to-follow instructions and pre-cut pieces that are simple to assemble. This is the way to go if you’re looking for quick convenience!
Here are a few examples of our favorites.
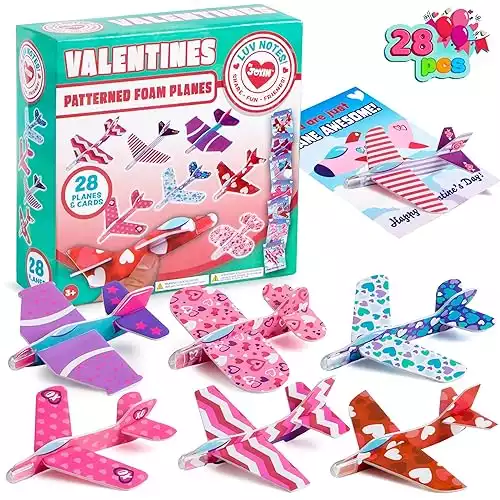
Foam Airplanes
This is a fun, high-quality set! My daughter gave these out two years ago; they were a huge hit with her fellow first graders. Each kit comes with 27 foam airplanes and coordinating cards with cute sayings like, “You make my heart soar!” All your child has to do is start by adding their name and the recipient’s name to the preprinted cards. Next, they can select an individually packaged airplane and attach it to the card with the included sticky tabs. Done and done. It’s quick and easy.
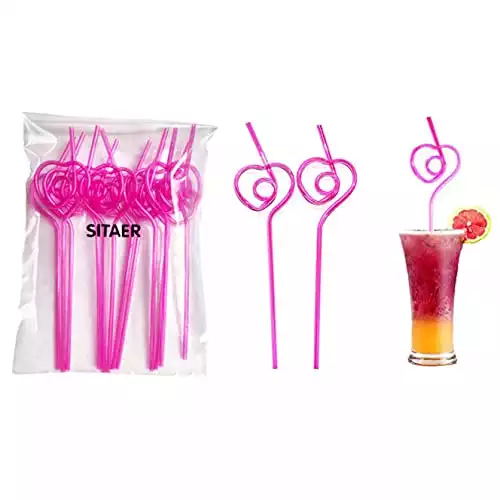
Heart Straws
This 36-pack of curly red heart straws is sure to be a hit in the classroom! The set comes with everything you need for quick and easy assembly. All your child has to do is add names to the pre-printed cards and attach the straws through the pre-cut holes. These will look adorable in Valentine bags and treat boxes on the big day.

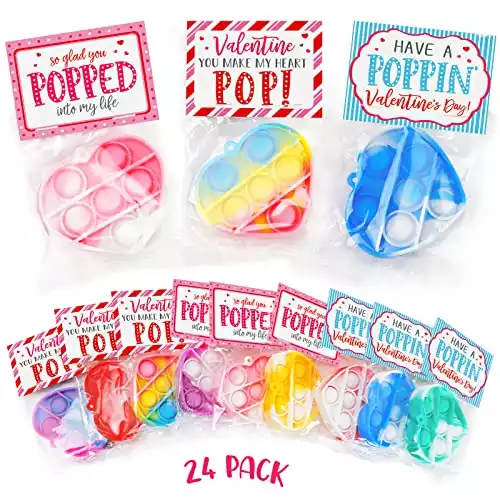
Heart Poppers
Heart-shaped poppers in a variety of colors are perfect for attaching to a backpack, lunch box, or purse. Your child will love handing these out to all their friends this year. Each keychain comes individually packaged with an attached card at the top. All your child needs to do is add their name and classmates’ names.
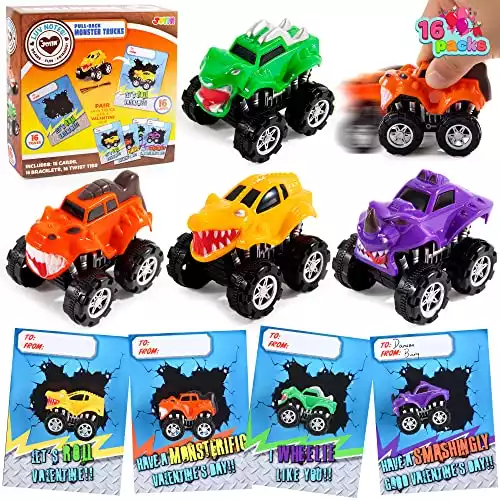
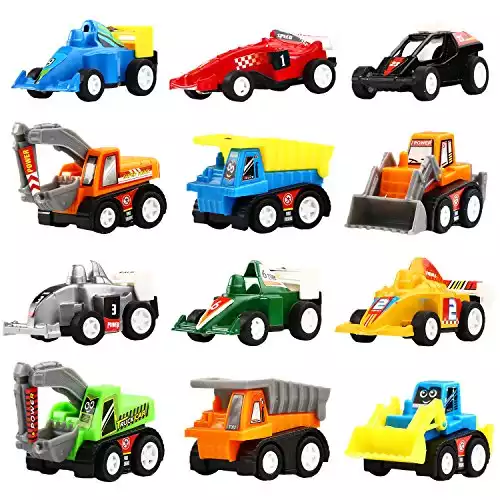
Mini Pull Back Monster Trucks
These look like so much fun! We love all of the fun and unique Valentine’s messages, like “Have a MONSTERIFFIC Valentine’s Day!” and “I WHEELIE like you, Valentine!!” Another quick and easy-to-assemble option. Start by having your child add their name and classmates’ names. Next, attach the monster trucks with the enclosed twist ties. That’s it. Your child is ready to hit the Valentine’s Day exchange in style.
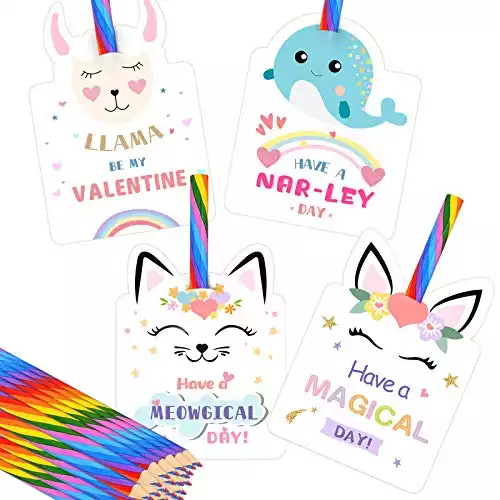
Rainbow Pencils
An adorable and practical treat that kids can use right away! These rainbow pencils are a fun addition to any pencil box. Plus, each of the cards is super cute too. Grab this set, and your child can assemble them in no time flat. They can start by adding their name and the names of their classmates and friends. Next, they insert the pencil through the precut slit at the top of the card. Voila-all done!
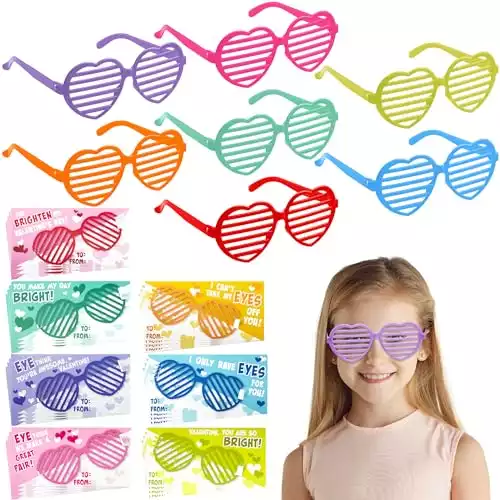
Heart Shaped Glasses
This set is super versatile and fun! My daughter gave these out at dance class last year, and they were a huge hit. The kids all came out of class wearing them! Bonus: The pictures you can snap will be adorable. These are good quality for the price and come in a nice assortment of colors. My kids are still playing with these. All your child has to do is add names and attach the glasses through the precut holes on each end of the card. Quick and easy.
Semi-DIY Valentine Cards
Semi-DIY Valentine cards are a great option if your child wants to give out something unique but doesn’t have much time or doesn’t want to spend a lot of time crafting cards. Allow your child to be creative, make cards on the computer, and print or make them by hand.
Have them create cards and then purchase a non-candy item to attach to each card. The whole project can take as little or as much time as your child chooses. Bonus: They can create their own unique messages for each card.
We created a fun option using the glow sticks below. Check it out and get inspired to create your own version.
Here are some of our favorite ideas for Semi-DIY Valentine Cards with suggested card messages:
- Mini Vehicles
- I Wheel-y Like You, Valentine!
- You Make My Heart Race Valentine!
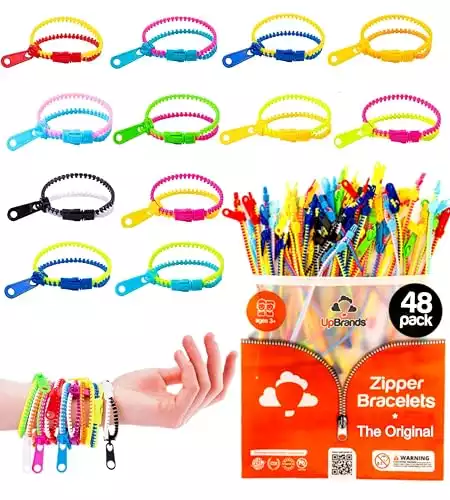
- Friendship Bracelets
- You Make My Heart Smile Valentine
- You’re A Great Friend Valentine
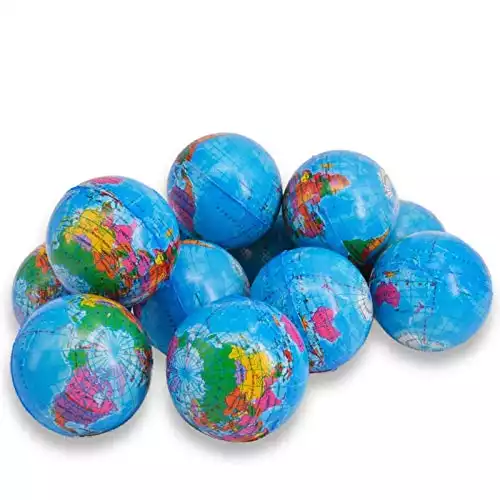
- Stress Balls
- You Make My World Go Around Valentine!
- You’re Outta This World, Friend!
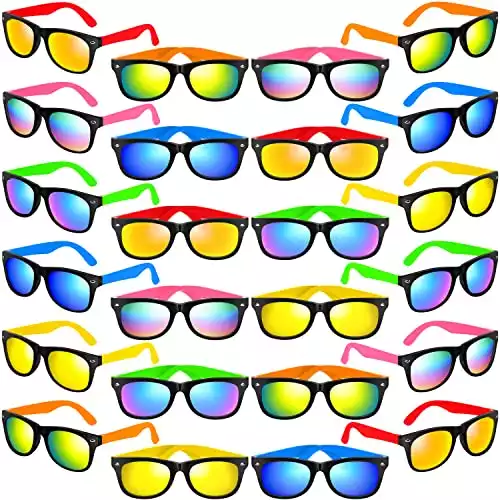
- Sunglasses
- You Shine Bright Valentine!
- Your Future Looks Bright Valentine!
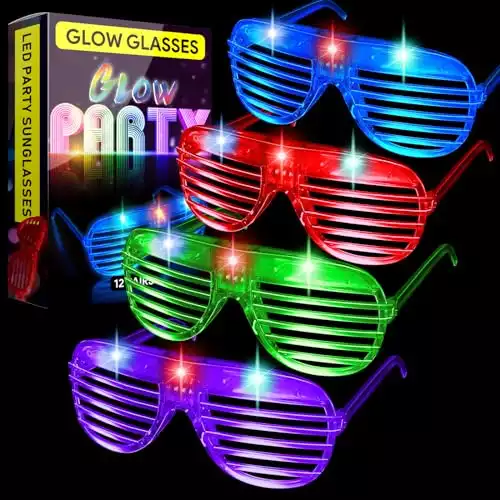
- LED Glasses
- You Light Up the Room, Valentine!
- Your Friendship Lights Up My Day!
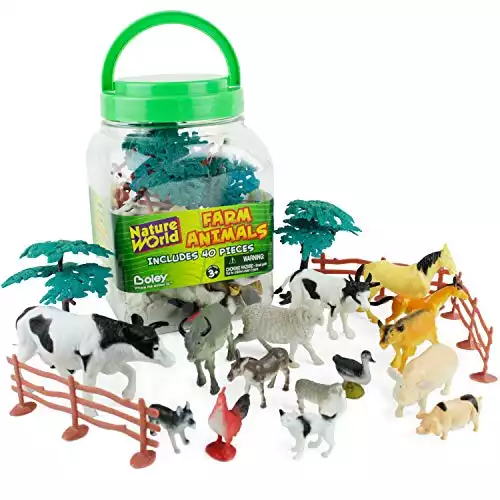
- Mini Animal Figurines
- You Make My Heart Smile Valentine!
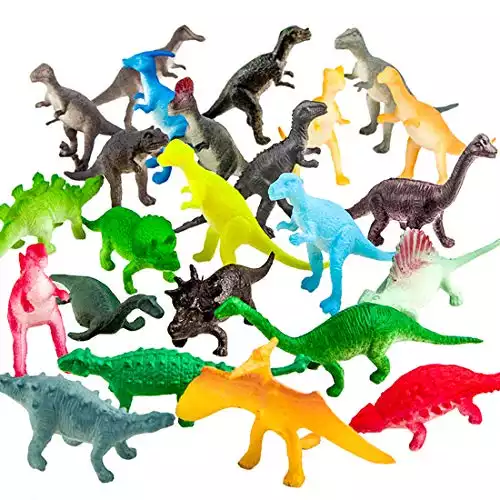
- Mini Dinosaur Figurines
- You Make My Heart ROAR Valentine!
- Have a DINO-MITE Day, Valentine!
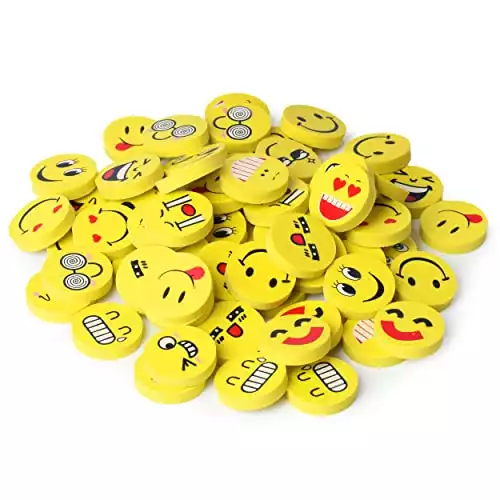
- Mini Erasers
- Have a Wacky Day, Valentine!
- Make Your Own Sunshine Valentine!
- You Make Me Smile Valentine!
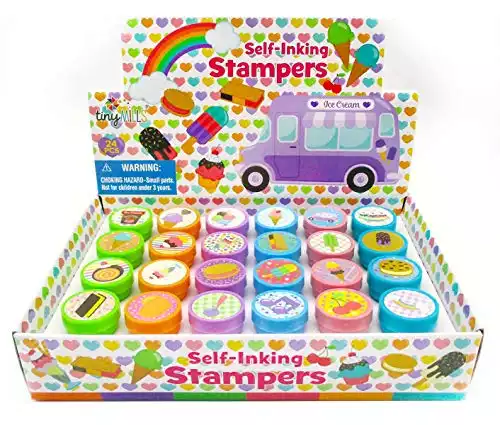
- Mini Stamps
- You’re a Sweet Valentine!
- Have a Sweet Valentine’s Day!
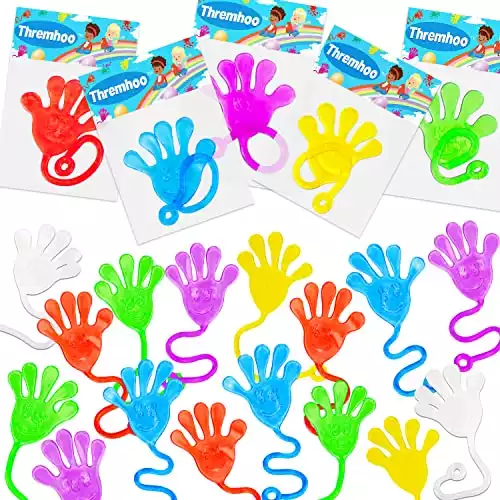
- Stretchy or Sticky Toys
- I’m Stuck On You Valentine!
- High-Five Valentine!
- Mini Keychains
- Your Friendship Gives Me Wings, Valentine!
- Have a DINO-MITE Day, Valentine!

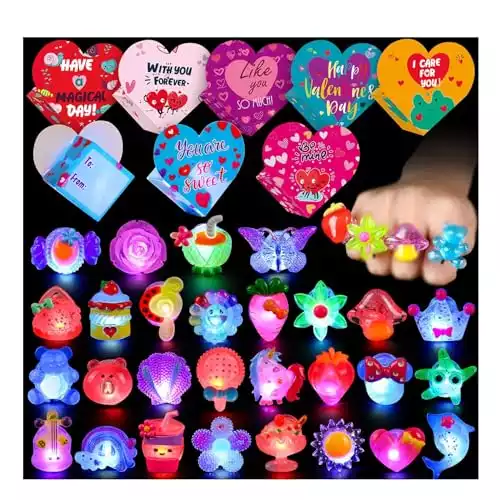
- Light Up LED Rings
- You’re Sunshine on a Cloudy Day, Valentine!
- You Light Up My Valentine’s Day!
- Curly Straws
- Have a Silly Day, Valentine!
- You’re Ex-STRAW Awesome Valentine!
Semi-DIY Glow Stick Cards
There’s no denying that neon glow sticks enchant children. They make a fun and unexpected Valentine. Here’s a step-by-step so you and your child can create your own version.
Supplies:
- Glow sticks
- Valentine’s Card Printed On the Computer or Made by Hand
- Hole Puncher

Step 1: Print/Make Valentine Card
Create a fun card on the computer and print it out or go old school and use paper and markers. Some of our favorite shapes for this card are light bulbs with a cute “you light up my life” message and cards with heart-shaped fireworks. Cut out your cards and ensure you have space to add two hole punches you’ll need in the next step.
Step 2: Punch the Holes
Punch one hole at the top and another at the bottom of the card. Make sure you can still read your entire message before punching your holes.
Step 3: Add Glow Sticks
Next, thread a glow stick from one hole to the other. Start by inserting the glow stick from the front of the card toward the back. It will run along the back and come through to the front at the other hole. This way, your card remains completely visible. Be careful with the glow sticks so you don’t accidentally activate any while adding to your cards. (Our motto is “slow is pro!”)
It’s that simple. Now, your child has a fun and unique set of Valentine’s to share this year.
100% DIY Valentine’s
With some simple art supplies, a Valentine’s Day card isn’t too complicated. First, have your child decide if they want a theme like dinosaurs, smiley faces, outer space, hearts, etc. Make sure it is something they can draw or create that isn’t too complicated. Pro-tip: stickers are always great for difficult or time-consuming objects or animals.
Next, have them decide on a Valentine’s message. For example, a space theme card with a message that reads, “You’re Outta This World Valentine!” Another option could be a jungle card with cute gorilla stickers that say, “I’m BANANAS for you, Valentine!” Consider additional message options listed above in our semi-DIY section.
Finally, let your child’s creativity run wild as they create their homemade one-of-a-kind cards. Make sure they make enough for everyone and leave a space to add their name and one recipient’s name on each card. Their friends and teachers will be delighted with these happy heart-day originals!
If you don’t know where to begin, check out our Fingerprint Tree card step-by-step tutorial below.
Fingerprint Tree Homemade Card
Let’s make a Valentine’s Day heart fingerprint tree card! It’s lovely and super easy to make if you need multiples.
You Will Need:
- White craft paper
- Pink and red ink pads
- Scissors
- Black marker
- Glue
- Pencil
Step 1: Make a Heart Stencil
The easiest way to make a heart pattern is by folding the craft paper and drawing a half heart adjacent to the fold. Then, cut out the heart with the paper still folded. You’ll have a nicely made heart stencil once you cut it out. Pro-tip: aim to create four hearts per page if you need to make several cards for a crowd or class. This will save paper and time.
Step 2: Transfer the Heart Stencil
Secondly, place the heart outline on a protected surface or scrap paper. If you’re making the card with a younger kid, secure the heart with tape so it doesn’t move around.
Step 3: Draw A Tree
Use the black marker to draw a tree trunk with empty branches within the heart shape.
Step 4: Get Messy
Your child will love this step since they will need to dab their fingers (thumbs and fingertips) in the ink pads and stamp leaves onto the tree. Make the tree tall, small, or even heart-shaped!
Step 5: Glue It
Now, remove the tape and glue the heart to one of the brightly colored pieces of craft paper. You’ll want to leave this part for last since you have to wait for the glue to dry completely. Also, make sure that you get kid-friendly glue.
Step 6: Sign It
For the final step, have your child add their name and the recipient’s name to the brightly colored paper surrounding the heart. Pro-tip: You can also add a generic message here and names on the back.
Final Thoughts
Overall, you can’t go wrong with any of the options. Non-candy Valentines that are assembly-only, semi-DIY, or 100% DIY are equally fun and exciting for children. It’s the thought that counts, but a fun trinket or treat never hurts, either! Happy heart day!