Let’s save you some time and money! You want your Christmas tree to look as fabulous as the one from your favorite shop, but you’re not a designer or professional decorator. You want your tree to come together seamlessly, but you aren’t sure where to begin. Well we have got you covered. No guesswork here!
Your neighbors, family and friends will be convinced you hired a professional decorator by following these 7 easy steps!
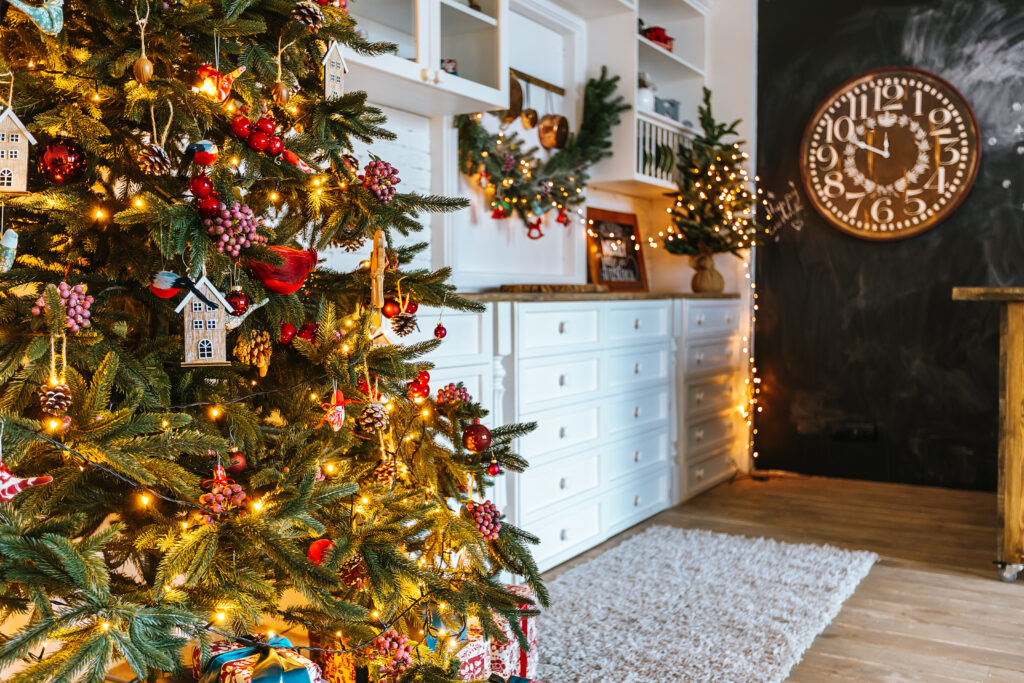
1. Get to Fluffin!
That’s right, step one is to get your tree looking its absolute best before adding any trimmings. This is my least favorite step, but boy does it pay off. Don’t skip or rush -it takes time to do this well. Fluffing could be what’s missing to take your tree from good to great.
You can fluff after the tree is assembled or as you add sections. I like to add a section to the base fluff, add another section, fluff…until I reach the top. You can do this however is best for you.
As you fluff gently bend the branches and small tips left, right, up and down. The goal is to add dimension and make your tree look as realistic as possible.
Have patience and work slowly. It can take about an hour to fluff an average size tree.
2. Add those Lights!
If you have a prelit tree you can skip this step or you can always add extra lights. I recommend starting at the top and gently wrapping each branch from trunk to tip as you move down. Camouflage extra lights on the back side of the tree at the bottom.
You will likely need about one strand of lights per vertical foot of tree. For example, a 6 foot tree would need about 6 strands of lights. If you want to know more check out my article on how to Find the Perfect Number of Lights for Any Christmas Tree.
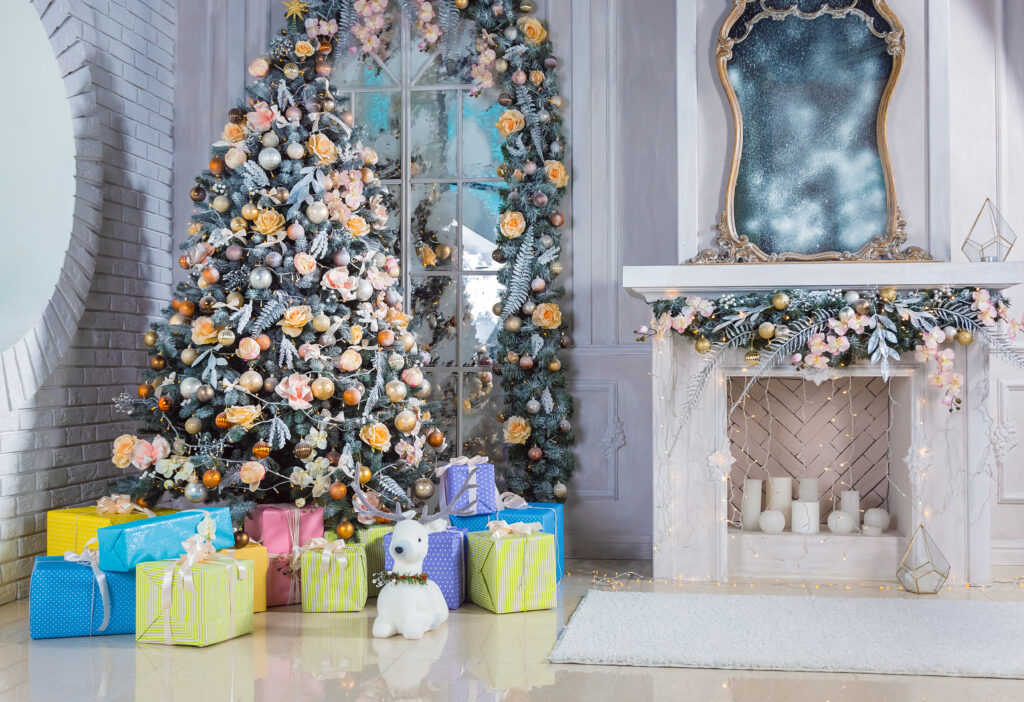
3. Tuck in Garland and Ribbon!
I recommend you start with the largest piece. Generally this will be your widest piece of ribbon or your faux greenery garland. Start faux greenery about 1 foot from the top of the tree. Working at a downward angle attach the garland with zip ties (heavy garland) or floral wire to the tree. I like faux garland to cascade down and around the tree.
When working with ribbon there are lots of options. You can drape it around the branches, create small tufts, or even cascades with bows or curls. Ribbon with wired edges works best because you can position it as needed.
4. Place those Stems
Stems are a great addition to any tree. I love floral, berry or faux greenery best. First fluff the stems. Make sure they aren’t flat or fan shaped. You want them to give dimension to the tree not look like a bunch of whale tails sticking out. You can help tuck them in by fluffing the tree branches around the stems.
Second, use stems to fill in any holes that are still visible. Make sure to spread out stems so the tree is balanced and not calling attention only to the holes. Don’t forget the sides and back of the tree that are visible. Secure the stems as needed with floral wire.
5. Secure Large Decorations
Large decorations include large ornaments or balls and florals. Start by hanging balls on the inner branches and save space near the tips for unique and one of a kind pieces. Work in triangles to keep the decorations balanced. (If you drew a line between the large pieces would you see a triangle?)
6. Add Sets and Smaller Decorations
Add medium and small sets of decorations. These would include matching sets. For example a set of solid color balls or a set of white snowflakes. Something that will go all over the tree, but isn’t one of a kind. Tuck these pieces near the middle of the branches, and a few on outer tips. These will help to fill in the tree, but also provide a nice backdrop for your more unique pieces.
7. Finish with your Favorites!
Now you can add those family favorites and one of a kind pieces! Tuck in large and medium pieces so they can rest on other branches as needed. Small pieces can go on the tips. Try to equally space out these favorites throughout the tree.
Frequently Asked Questions
Do you start lights from the bottom?
There really is no one way. I prefer to start lights at the top and wrap each individual branch. I know others who do the same, but from the bottom. Whichever is easiest for you. Pro tip-keep your power source in mind and make sure to test those lights before stringing them up.
Do you start hanging ribbons from the top?
There are different opinions on this, but I prefer the top. I like to do ribbons as a cascade and the top makes the most sense. You can either keep your ribbon as one long piece or cut the ribbon into 1-3 foot sections. Cutting the ribbon makes it a bit easier to work with, but this is your call. Keep in mind the look you are trying to achieve.
Can you hang a garland on a tree?
Absolutely! Faux greenery is great for adding fullness to a tree and disguising any holes. Other garlands such as ribbons, beads and felt garlands can help to do the same. I love the look of layered garlands!
Can you add extra lights to a prelit tree?
Without a doubt! This is a fun way to freshen up the look of your tree without spending lots of money. Consider adding a different shape of light or a different color!
How many ornaments and decorations will I need for a 6 foot tree?
This will depend on the profile of your tree. If it is a pencil or narrow width it will need less ornaments. If it is a medium or full width it can handle more ornaments. Keep in mind if you are going for a minimalist look or a more-is-more feel. That will also help you decide how many to purchase. A good rule of thumb is about 10 decorations per vertical foot height. A 6 foot tree would need about 60 ornaments or decorations. For a complete breakdown of all the bits and pieces check out How to Find the Perfect Number of Ornaments for Your Christmas Tree.
Does the tree topper go on first or last?
It appears that the jury is still out on this one. The internet seems split about 50/50. There are pros and cons to both. For me it depends on the tree and the topper. If the topper is large and needs to be secured, it goes on first. If the topper is a ribbon or something similar that drapes down a bit I do it last so I can have all the other decorations in place.
If your tree is large 7 feet or taller I would recommend hanging the topper first. It can be difficult to secure a topper if you are worried about bumping or breaking your bits and bobbles below.
What should be on my Christmas tree decoration list?
Supplies
- Floral wire or zip ties to secure heavy decorations
- Ornament hooks
- Scissors or small wire snippers
- Floral tape to camouflage zip ties etc.
- Hot glue gun for any quick last minute fixes
- Step stool or ladder
A combination of decorations
- Ornaments
- Florals
- Stems
Garland to add depth and interest
- Wood beads
- Faux greenery
- Felt balls or soft fabric garlands
- Ribbons
Tree stand, tree skirt, tree collar or basket
How do I store my artificial Christmas tree?
Storage is so important to protect your tree and your investment in your tree. There are lots of options and they all depend on the space available and your personal preference. For complete details visit Everything You Need To Know About Artificial Christmas Tree Storage.